
Wednesday, December 22, 2021
Wednesday, November 10, 2021
Wizzard Pillowcases
SOLD


You are buying ONE pillowcase.
What is it made from?
*Fabric is 100% cotton pillowcase
I will coordinate a matching edging..
How big is it?
*The pillowcase will fit any standard size pillow measuring 20 by 29.
How is it put together?
*Sewed and serged seams.
What a nice gift for that person who loves this series.
check out my other pillowcases here
https://www.etsy.com/shop/loschiquitos/?section_id=7017827
PAYMENT
I do take PayPal on here.This is how my pillowcases look like.

SHIPPING
I recommend buying shipping insurance because otherwise
I am not responsible for lost, damaged or stolen packages.
I'll ship anywhere-just ask and I'll get a price.
Tuesday, October 26, 2021
Halloween Costume Skeleton Clown
I am currently working on my tutu for my costume. Ugh-I hate sewing tulle.
This is the state of my sewing room.

I am sewing 20 yds of tulle 4 times. 3 times for putting on ribbon and the time to make a waist line. As soon as I get pictures , I will post everything up.
Wednesday, October 13, 2021
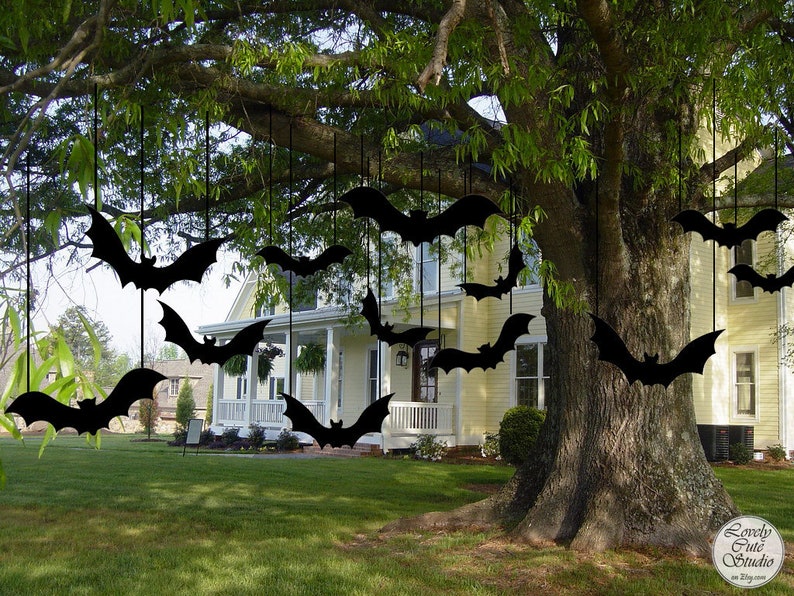
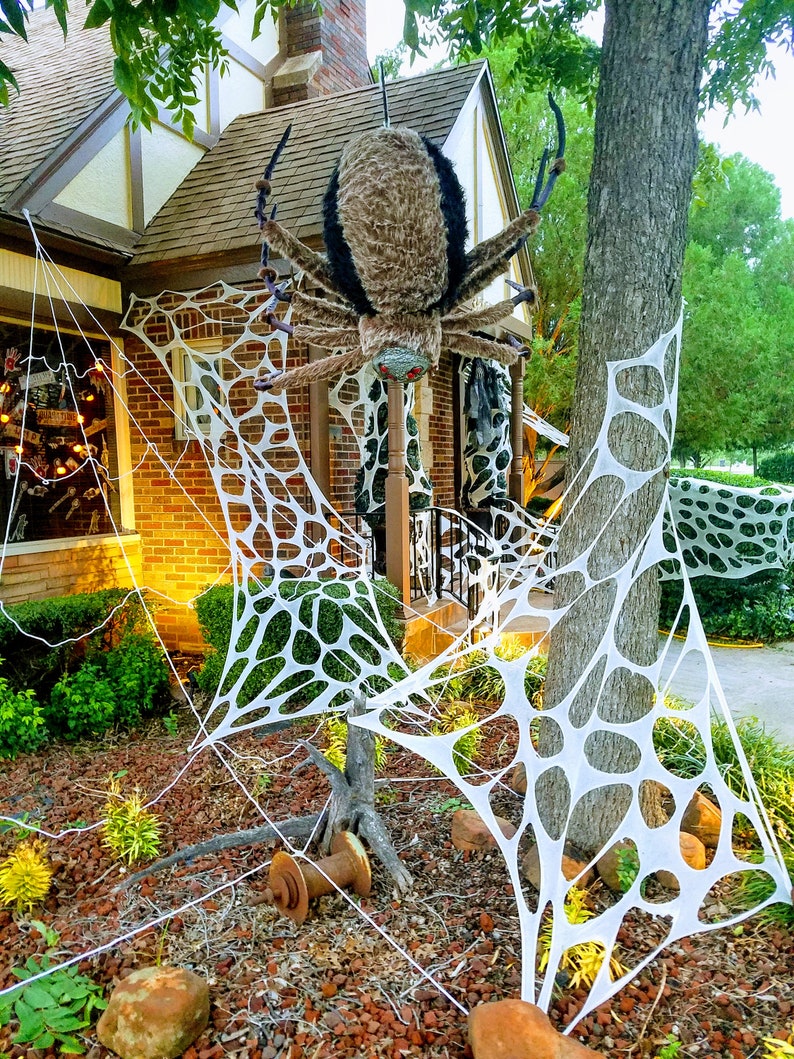
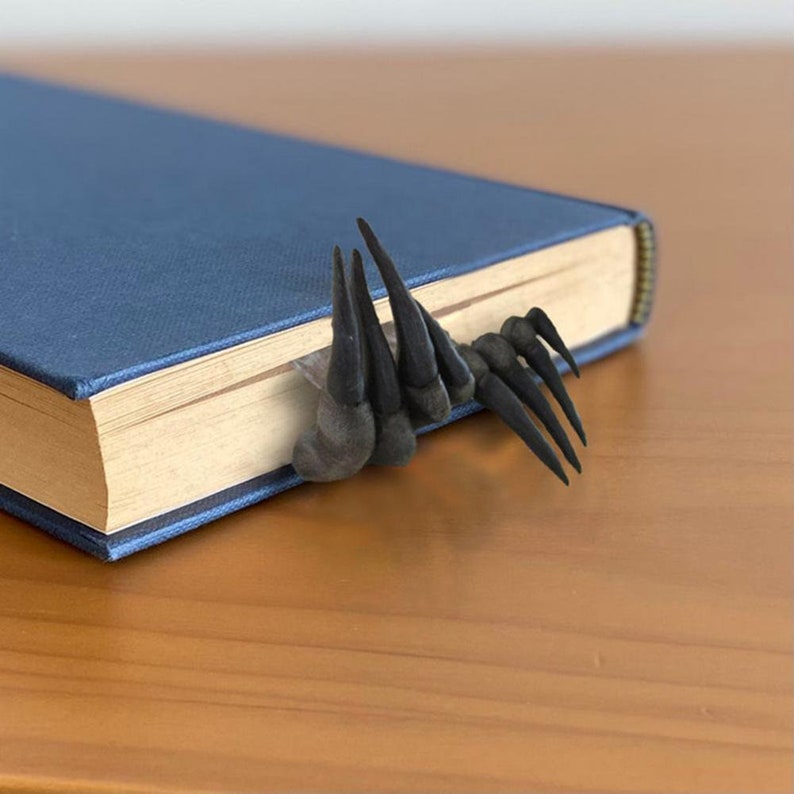
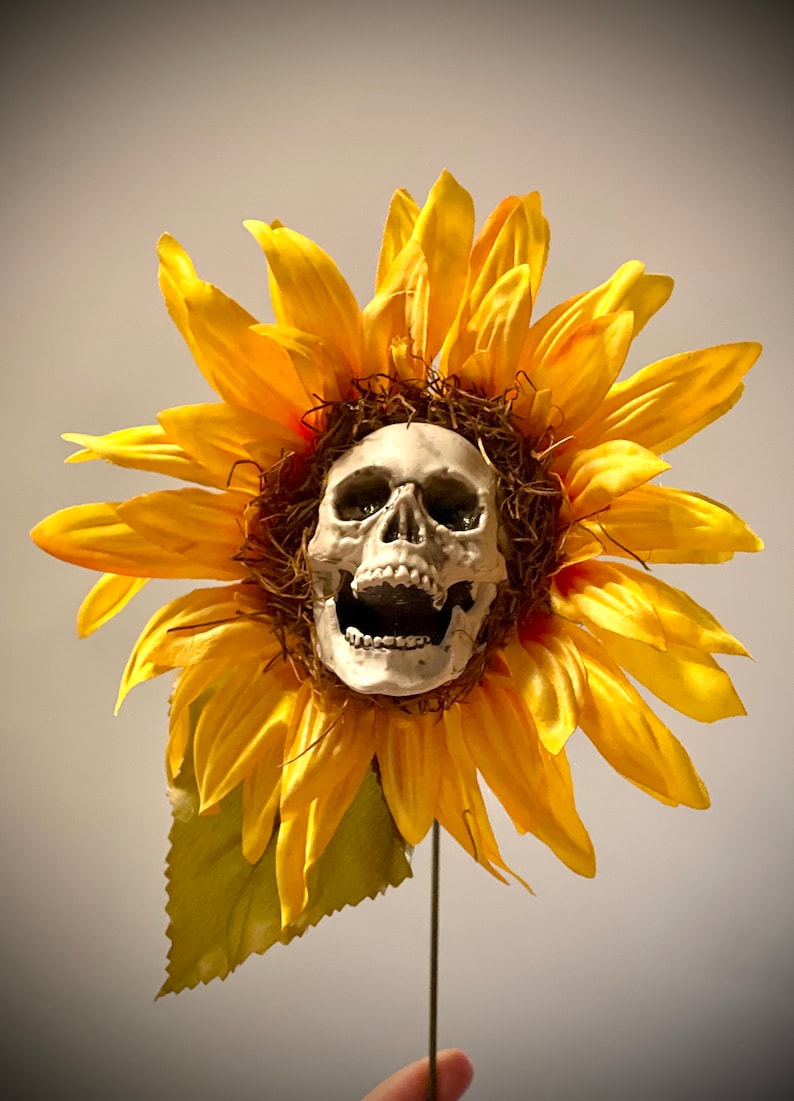
Halloween isn't Over yet!
Why are stores, like 2 weeks ago, already getting rid of all their Halloween stuff. Screw you Xmas and wait your damn turn.
Well, here are some Halloween things to look at while October comes.

Wednesday, September 29, 2021
Wednesday, September 22, 2021
Saturday, September 4, 2021
Sunday, August 29, 2021

Sunday, August 22, 2021
Starting on my Halloween Costume
I am working on my Halloween costume. I haven't sewn anything yet. I have instead bought my bodysuit, wig and some other things. I will buy some contact lenses too. What am I going to be? A clown skeleton. I hate clowns too but I thought the skeleton part added to it. I asked my husband to do it and well -he really hates clowns so no for him.
Anyway, I'll show you what I have so far. I plan on making a tutu. I'll tell you more about it soon.


Wednesday, August 18, 2021
Wednesday, August 11, 2021
Tuesday, July 27, 2021
Wednesday, July 21, 2021
Wednesday, July 14, 2021
Wednesday, July 7, 2021


Wednesday, June 30, 2021
Wednesday, June 23, 2021
Wednesday, June 16, 2021
Wednesday, June 9, 2021
Sunday, June 6, 2021
Nighttime Summer Fantasy Forest Ambience ASMR
Another one of my videos. I will be posting a lot of them this month.
Tuesday, June 1, 2021
Erika's Chiquis Youtube Channel
This is my first youtube video.
I make ASMR ambience videos.
thanks for looking.
Sunday, May 30, 2021
Sunday, May 23, 2021
Want to Raise Chickens?

check this out this link with advice to types, protection from predators, food, coops, etc.
From The Happy Chicken Coop
Sunday, May 16, 2021
How to Draw a Mermaid
 I was looking for a site to draw a mermaid. why? who knows. I wanted to just draw stuff that night because I felt like it. I suck at drawing so if you are interested here's the link to do this here
Sunday, May 9, 2021
Unique Crochet dolls


Sunday, May 2, 2021

Thursday, April 29, 2021
How to Make a Cricut Maker Cover

From Too Much Love she gives you directions on how to make a cover for your Cricut Maker.
You can get the link here
The site gives great detail and directions. The only complaint is all the ads. Anyway, I'm about to get one of these and I wanted to have a cover-just like my sewing machines and Sergers. You want to keep dust away from the machine.
I know Etsy has some sellers making and selling these here . They range in prices from 10.00 dollars and up. They also make covers for other Cricuts and other items like mug machines, embroidery machines, etc.
Sunday, April 25, 2021

Wednesday, April 21, 2021
Hooded PJs

I bought my pattern of Etsy from Caitie's crafting Shop
Sunday, April 18, 2021
Crochet Donuts

Step: 1
GETTING STARTED
Download the PDF for a set of portable project instructions. Read through all of the instructions before beginning.
Step: 2
CROCHET DOUGHNUTS
ABBREVIATIONS:
beg—begin(ning); ch—chain; rep—repeat(ing); rnd—round; sc—single crochet; sc2tog—single crochet two together (1 decrease); sk—skip; sl—slip; st(s)—stitch(es)
SIZE:
About 4" (10 cm) diameter
MATERIALS:
- #4 medium weight yarn: Bernat® Satin® (3.5 oz/100 g; 200 yds/183 m). Note: Choose colors based on your desired doughnuts. Each doughnut requires approximately 40 yds (37 m) of Color A (doughnut) and 20 yds (18.3 m) Color B (frosting). Small amount of other colors for "sprinkles".
- Boye® US size G (4.25 mm) crochet hook or size needed to obtain gauge
- Polyfill for stuffing
- Stitch marker
- Yarn needle
GAUGE
12 sts and 16 rows = 4" (10 cm) in single crochet
Step: 3
CROCHET DOUGHNUTS DIRECTIONS:
Note: Work in continuous rnds; do not join or turn unless indicated.
DOUGHNUT:
With A, ch 12 leaving a long tail for sewing.
Rnd 1: Join with slip st to make ring. Work 2 sc in each ch around—24 sts. Place marker in first st for beg of rnd; move marker up as each rnd is completed.
Rnd 2: *2 sc in next st, sc in next st, rep from * around—36 sts.
Rnds 3-12: Sc in each st around.
Rnd 13: *Sc2tog, sc in next sc, rep from * around—24 sts.
Rnd 14: *Sc2tog around—12 sts. Fasten off.
FROSTING:With B, ch 18 leaving a long tail for sewing.
Rnd 1: Join with slip st to make ring. Work 2 sc in each ch around—36 sts. Place marker in first st for beg of rnd; move marker up as each rnd is completed.
Rnd 2: Sc in each sc around—36 sts.
Rnd 3: *Sc in next sc, 2 sc in next sc; rep from * around—54 sts.
Rnd 4: * Ch 3, sl st in 2nd ch from hook, sk 1 sc, sc in next sc; rep from * around.
Fasten off leaving a long tail for sewing.
FINISHING:
Doughnut: Begin stuffing doughnut with polyfill as you sew the beginning and ending edges together. Continue around until doughnut is stuffed and edges are completely sewn together. Fasten off. Weave in tails.
Frosting: Sew center of frosting to doughnut top then tack down outer edges. With contrast color yarn, randomly stitch on top of frosting to create "sprinkles".
Step: 4
KNIT DOUGHNUTS
ABBREVIATIONS:
alt—alternate; approx—approximately; k—knit; K2tog—Knit next 2 stitches together; p—purl; rep—repeat; RS—right side; st(s)—stitch(es)
SIZE:
Approx 4" (10 cm) in diameter
MATERIALS:
- #4 medium weight yarn: Bernat® Satin® (3.5 oz/100 g; 200 yds/183 m). Note: Choose colors based on your desired doughnuts. Each doughnut requires approximately 25 yds (23 m) of Color A (bottom of doughnut) and 25 yds (23 m) Color B (top of doughnut). Small amount of other colors used for "sprinkles".
- Boye® US size 6 (4.25 mm) knitting needles or size needed to obtain gauge
- Polyfill for stuffing
- Yarn needle
GAUGE
18 sts and 24 rows = 4" (10 cm) in stockinette stitch
SPECIAL STITCHES
M1 (make 1): Increase one stitch by picking up the horizontal loop lying between the current st on right needle and the next st on left needle and knitting through the back loop.
Step: 5
KNIT DOUGHNUTS DIRECTIONS:
With Color A, cast on 18 sts leaving a long tail for sewing.
Row 1 (RS): Knit.
Row 2 and all even rows: Purl.
Row 3: K2, *M1, k2, rep from * to end of row—26 sts.
Row 5: K2, *M1, k3, rep from * to end of row—34 sts.
Row 7: K2, *M1, k4, rep from * to end of row—42 sts.
Row 9: K2, *M1, k5. rep from * to end of row—50 sts.
Row 11: K2, *M1, k6, rep from * to end of row—58 sts.
Row 13: K2, *M1, k7, rep from * to end of row—66 sts.
Row 14: Purl. Cut color A.
With Color B and leaving a long tail for sewing, continue as follows:
Row 1: Knit.
Row 5: K2, *k2tog, k6, rep from * to end of row—58 sts.
Row 7: K2, *k2tog, k5, rep from * to end of row—50 sts.
Row 9: K2, *k2tog, k4, rep from * to end of row—42 sts.
Row 11: K2, *k2tog, k3, rep from * to end of row—34 sts.
Row 13:K2, *k2tog, k2, rep from * to end of row—26 sts.
Row 15: K2, *k2tog, k1, rep from * to end of row—18 sts.
Row 17: Knit.
Bind off all stitches. Cut yarn leaving a long tail.
FINISHING
Sew cast on and bind off edges together to form tube. Stuff tube with polyfill. Sew ends of tube together to form doughnut. Thread contrast color yarn onto yarn needle and randomly stitch on top of doughnut to form "sprinkles".

Sunday, April 11, 2021
Lolita Bonnet

Step: 1
GETTING STARTED: Download the PDF for a set of portable project instructions. Read through all of the instructions before beginning.
MATERIALS:
- Simplicity pattern 8127
- 3/4 yard of 45" to 60" wide fabric for bonnet. We used a blue floral cotton print for photo sample.
- 1 yard of 45" to 60" wide coordinating fabric for bonnet facing, ruffle and side bows. We used a lavender blending print for photo sample.
- 1/2 yard of 20" to 25" wide cotton buckram for bonnet interfacing
- 2-1/4 yards of 32 gauge millinery wire
- 1 yard of 5" wide eyelet or lace trim
- 1-1/2 yards of 1-1/2" wide ribbon
- Bonnet pattern: Pattern will print on ten (10) sheets of 8-1/2" x 11" paper. Note: Pieces 1, 2, 3 and 6 will each print on two (2) sheets of paper. Matching the red guide lines and pattern shapes, tape these pieces together before placing on fabric for cutting.
- Straight pins
- Scissors
- Sewing machine
- Matching thread
- Hand sewing needle
See the Supply List for items you can purchase here.
Step: 2
DIRECTIONS:
Cut bonnet brim and band from bonnet fabric, as directed on pattern pieces 1 and 4.
Step: 3
Cut bonnet ruffle, brim facing and band facing from coordinating fabric, as directed on pattern pieces 2, 3 and 4. Set aside remaining fabric for making bows at the end of the project.
Step: 4
Cut bonnet band interfacing and brim interfacing from buckram, as directed on pattern pieces 5 and 6.
Step: 5
Using a hand sewing needle and thread, hand stitch millinery wire around all four edges of the band interfacing. Use a blanket or whip stitch for best results. The wire will help in maintaining the shape of the bonnet. Hand shape band to fit the curve of the head, using a head form or model if available and using steam as needed to help achieve the desired shape.
Step: 6
Using a hand sewing needle and thread, hand stitch millinery wire to the OUTER edge of the brim interfacing. Use a blanket or whip stitch for best results. The wire will help the bonnet maintain its shape and prevent the brim from drooping. Gently shape the brim to a slight curve, steaming as needed to help achieve the desired shape.
Step: 7
Using a long straight machine stitch, place 2 rows of gathering stitches along the INSIDE edge of the brim facing, stitching from one outer notch to the other. Note: the inner notches on this edge will be used later when matching this facing to the brim and the band.
Step: 8
With RIGHT sides together, pin the OUTER edges of the brim and brim facing together. Stitch in a 5/8" seam. Press seam to blend stitches and clip curves. Turn sewn brim and facing RIGHT side out and press edge smooth.
Step: 9
Matching cut edges and notches, pull up gathering stitches so that the length of the INNER edge of the brim facing matches the INNER edge of the brim.
Step: 10
Slide the brim interfacing inside the brim and brim facing, matching edges so that the buckram is completely covered. Using a straight machine stitch, stitch the opening closed 5/8" from the cut edge, enclosing the interfacing.
Step: 11
Hem edges of eyelet or lace trim by turning back 1/4", and then 1/4" again. Using a straight machine stitch, stitch hem in place, stitching close to the inner folded edge.
Step: 12
Using a long machine stitch, stitch 2 rows of gathering stitches along non-scalloped edge of eyelet or lace, starting and finishing 1/2" from each end. Pull up gathering stitches to 13-1/4".
Step: 13
Place the WRONG side of the eyelet ruffle on the RIGHT side of the brim, matching cut edges and starting and ending ruffle approximately 1" from each end of the brim. Hand baste in place.
Step: 14
With RIGHT sides together, fold the ruffle in half lengthwise, matching notches and cut edges. Pin ends closed.
Step: 15
With a straight machine stitch, stitch ends closed in a 5/8" seam. Press seams to blend stitches and clip corners. Turn ruffle RIGHT side out, pressing ends flat. Press folded edge to create a crisp fold.
Step: 16
Using a long machine stitch, stitch 2 rows of gathering stitches along the raw edge of the ruffle, stitching between notches and through both layers of fabric. Pull up gathering stitches to 13-1/4".
Step: 17
Place the WRONG side of the fabric ruffle on the RIGHT side of the eyelet ruffle, matching cut edges and ruffle ends. Hand baste in place.
Step: 18
Using the stitching at the INNER edge of the brim facing as a guide, place the brim along the INNER wired edge of the band, with the brim and ruffle seam allowances overlapping the band UNDERNEATH, until the brim interfacing and wired band interfacing edges meet and the brim is perpendicular to the band. Pin in place.
Step: 19
Using a hand sewing needle and thread, hand stitch the edges of the brim to the wired edge of the band interfacing, stitching through all fabric and buckram layers. Use a small whip stitch for best results, stitching close together for added security.
Step: 20
With WRONG sides together, pin the bonnet band to the bonnet band facing, matching cut edges and notches. Using a regular machine stitch, stitch short edges and long unnotched edge each in a 5/8" seam. Press seams to blend stitching. Clip corners.
Step: 21
Turn band RIGHT side out and press flat. Turn open edges under 5/8" and press. Slide the band over the buckram band interfacing, until the pressed edges meet the brim stitching and the buckram is completely covered. Be sure to match the band fabric with the brim fabric, and the band facing fabric with the brim facing fabric. Pin in place.
Step: 22
With a hand sewing needle and thread, slip stitch the band in place, stitching through all layers and using small stitches placed close together for security and invisibility.
Step: 23
Center the ribbon on the bonnet band, so that the hanging ends are even. With a hand sewing needle and thread, hand tack the ribbon to the bonnet band, adding extra hand tacking at the ends of the band for added security.
Step: 24
From remaining coordinating fabric, cut two small bow and knot pieces from pattern #8127. Sew bows as directed on the pattern instruction sheet. Hand tack bows to the ends of the band, over the ribbon. Tip: if you do not have the pattern pieces for the bow and knot, you can substitute with ribbon bows or silk flowers.
Step: 25
Cut ribbon ends at a 45-degree angle to prevent fraying. Wear bonnet as shown in photograph.
Subscribe to:
Posts (Atom)